Chuẩn bị bài lab
Bài lab này kết hợp 2 bài lab: Cài đặt DNS Server trên Ubuntu 22.04: Internal Network và Cài đặt DNS Server trên Ubuntu 22.04: External Network. Để cài name server cho dải mạng nội bộ: 172.16.200.0/24. Tên miền là [dinhducthanh.local]. Và dải mạng WAN: 192.168.64.0/29. Tên miền là [dinhducthanh.com].
– Cấu hình 2 card mạng cho server
root@localhost:~# cat /etc/netplan/01-netcfg.yaml
network:
  ethernets:
    ens33:
      dhcp4: false
      addresses: [192.168.64.3/29]
      routes:
        - to: default
          via: 192.168.64.2
          metric: 100
      nameservers:
        addresses: [192.168.64.3,8.8.8.8]
      dhcp6: false
  version: 2

network:
  ethernets:
    ens37:
      dhcp4: false
      addresses: [172.16.200.2/24]
      nameservers:
         addresses: [172.16.200.2]
      dhcp6: false
  version: 2
– Đổi hostname, time zone
root@localhost:~# hostnamectl set-hostname dns.dinhducthanh.com
root@localhost:~# timedatectl set-timezone Asia/Ho_Chi_Minh
root@localhost:~# reboot
root@dns:~# hostname
dns.dinhducthanh.com
Cài đặt và cấu hình BIND
Install BIND
root@dns:~# apt -y install bind9 bind9utils
Cấu hình BIND
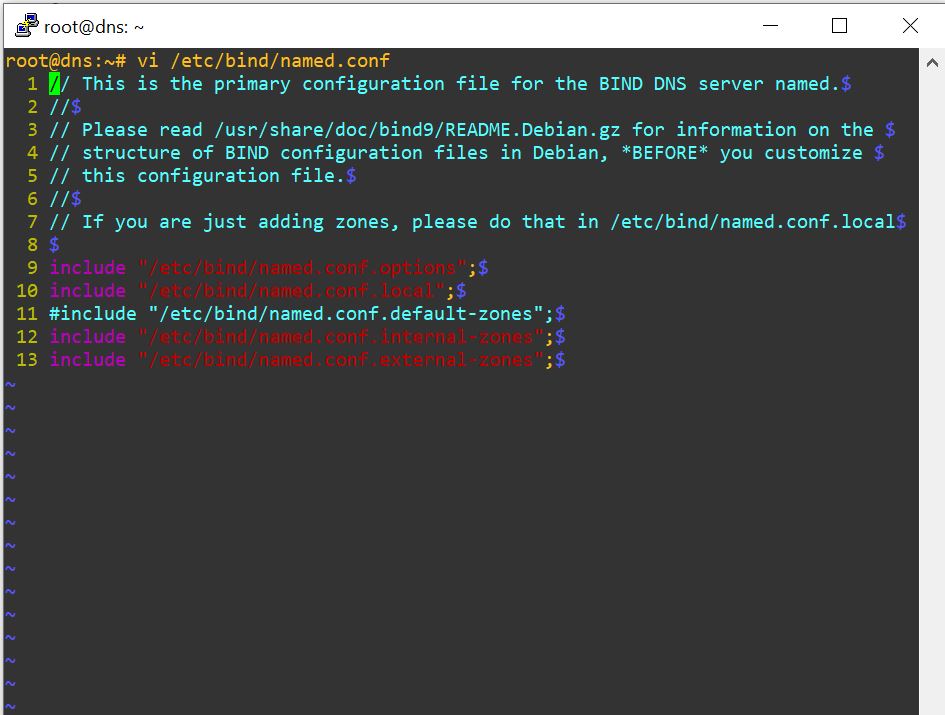
– Cấu hình named.conf khai báo Internal Network và External Network
root@dns:~# vi /etc/bind/named.conf
include "/etc/bind/named.conf.options";
include "/etc/bind/named.conf.local";
# comment out
#include "/etc/bind/named.conf.default-zones";
# thêm
include "/etc/bind/named.conf.internal-zones";
include "/etc/bind/named.conf.external-zones";
– Cấu hình named.conf.options
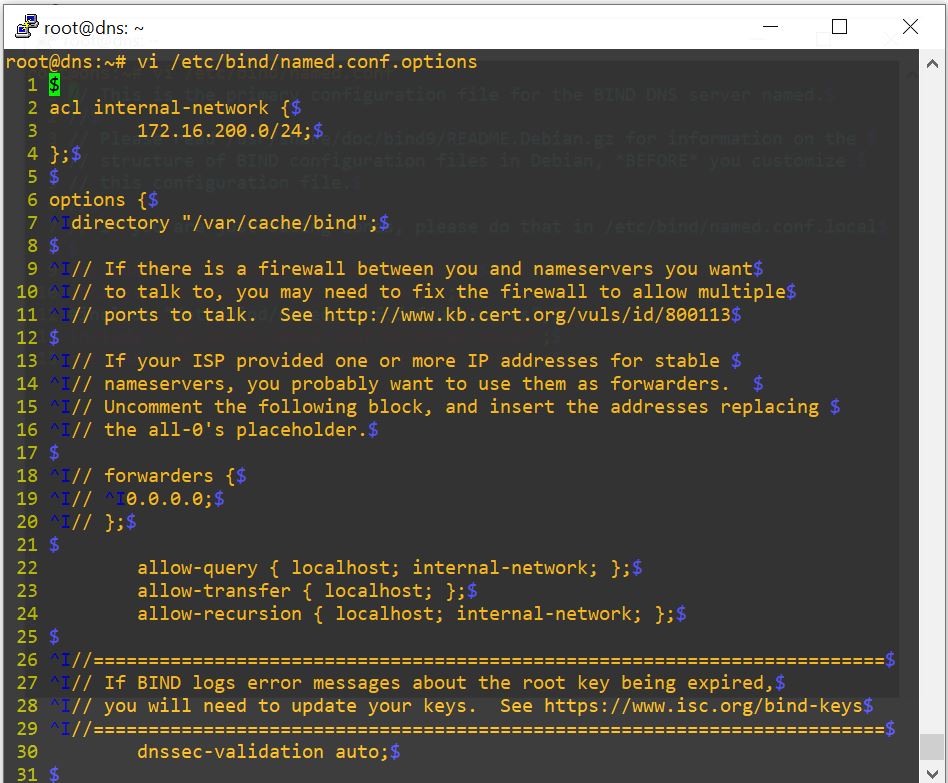
root@dns:~# vi /etc/bind/named.conf.options
# add: nhập ACL cho local network
acl internal-network {
        172.16.200.0/24;
};

options {
        directory "/var/cache/bind";

.....
.....

        # add local network được đặt trên phần [acl] phía trên
        # network range bạn cho phép nhận truy vấn từ máy chủ
        allow-query { localhost; internal-network; };
        # network range bạn cho phép chuyển các zone files cho clients
        # add secondary DNS servers nếu có
        allow-transfer { localhost; };
        # add phạm vi truy vấn bạn cho phép truy vấn
        allow-recursion { localhost; internal-network; };

        //=======================================================================
        // If BIND logs error messages about the root key being expired,
        // you will need to update your keys.  See https://www.isc.org/bind-keys
        //=======================================================================

        dnssec-validation auto;

        # nếu không lắng nghe IPV6, đổi [any] thành [none]
        listen-on-v6 { any; };
};
– Tạo file Internal Network
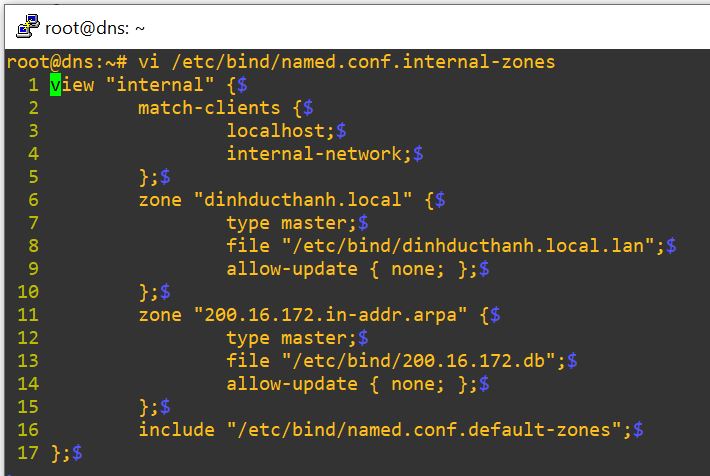
root@dns:~# vi /etc/bind/named.conf.internal-zones
view "internal" {
        # set internal network zones
        match-clients {
                localhost;
                internal-network;
        };
        zone "dinhducthanh.local" {
                type master;
                file "/etc/bind/dinhducthanh.local.lan";
                allow-update { none; };
        };
        zone "200.16.172.in-addr.arpa" {
                type master;
                file "/etc/bind/200.16.172.db";
                allow-update { none; };
        };
        include "/etc/bind/named.conf.default-zones";
};
– Tạo file External Network
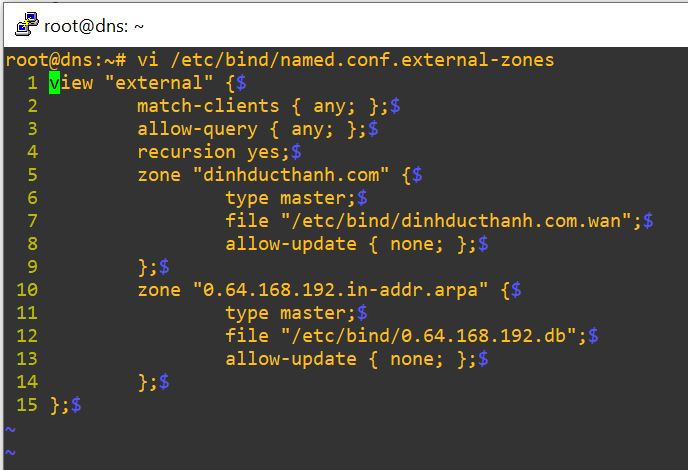
root@dns:~# vi /etc/bind/named.conf.external-zones
view "external" {
        # khớp tất cả ngoại trừ các mục tiêu được xác định trên [match-clients] trên phần internal
        match-clients { any; };
        # allow mọi truy vấn
        allow-query { any; };
        # allow recursive queries
        recursion yes;
        zone "dinhducthanh.com" {
                type master;
                file "/etc/bind/dinhducthanh.com.wan";
                allow-update { none; };
        };
        zone "0.64.168.192.in-addr.arpa" {
                type master;
                file "/etc/bind/0.64.168.192.db";
                allow-update { none; };
        };
};
– nếu bạn không sử dụng IPv6 đồng thời chặn nhật ký liên quan đến IPv6, có thể thay đổi. set BIND chỉ sử dụng IPv4
root@dns:~# vi /etc/default/named
# add
OPTIONS="-u bind -4"
2 Cấu hình Zone Files
– Sau khi Cấu hình BIND xong. Bước tiếp theo cần cấu hình Zone Files.
– Tạo các file forward zone mà server phân giải IP address từ Domain name. Lưu ý không copy phần comment [#] vào cấu hình của file.
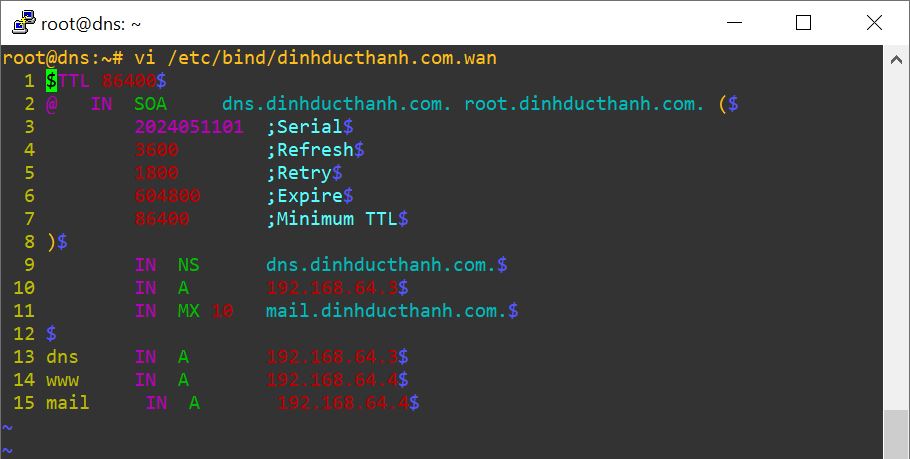
root@dns:~# vi /etc/bind/dinhducthanh.com.wan
$TTL 86400
@   IN  SOA     dns.dinhducthanh.com. root.dinhducthanh.com. (
        # Sử dụng serial number bất kỳ
        # recommended : [YYYYMMDDnn] (update date + number)
        2024051101  ;Serial
        3600        ;Refresh
        1800        ;Retry
        604800      ;Expire
        86400       ;Minimum TTL
)
        # xác định Name Server
        IN  NS      dns.dinhducthanh.com.
        # Xác định IP của Name Server
        IN  A       192.168.64.3
        # Xác định Mail Exchanger Server
        IN  MX 10   mail.dinhducthanh.com.

# Xác định từng IP address của từng hostname
dns     IN  A       192.168.64.3
www     IN  A       192.168.64.4
mail     IN  A       192.168.64.4
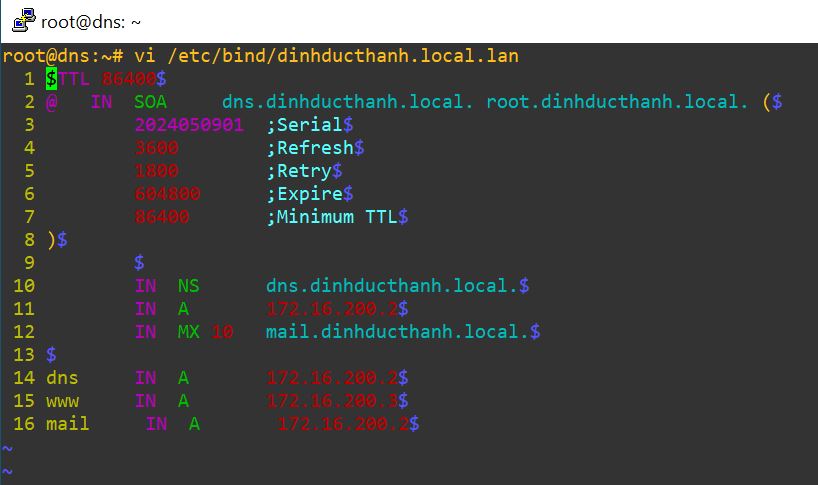
root@dns:~# vi /etc/bind/dinhducthanh.local.lan
$TTL 86400
@   IN  SOA     dns.dinhducthanh.local. root.dinhducthanh.local. (
        # Sử dụng serial number bất kỳ
        # recommended : [YYYYMMDDnn] (update date + number)
        2024050901  ;Serial
        3600        ;Refresh
        1800        ;Retry
        604800      ;Expire
        86400       ;Minimum TTL
)
        # xác định Name Server
        IN  NS      dns.dinhducthanh.local.
        # Xác định IP của Name Server
        IN  A       172.16.200.2
        # Xác định Mail Exchanger Server
        IN  MX 10   dlp.srv.world.

# Xác định từng IP address của từng hostname
dns     IN  A       172.16.200.2
www     IN  A       172.16.200.3
mail     IN  A       172.16.200.2
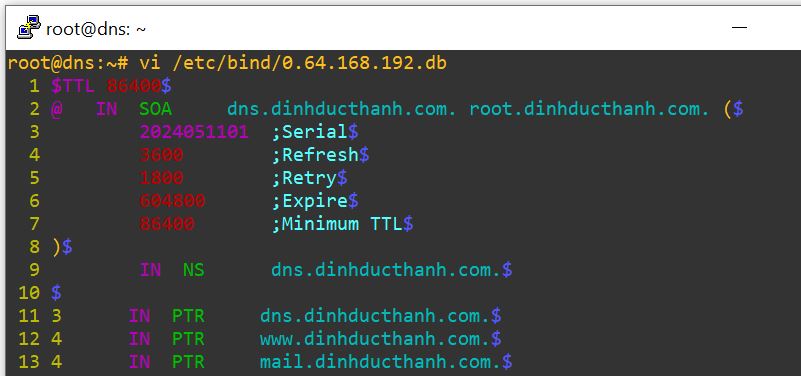
– Tạo các file reverse zone mà server phân giải Domain name từ IP address. Lưu ý không copy phần comment [#] vào cấu hình của file.
root@dns:~# vi /etc/bind/0.64.168.192.db
$TTL 86400
@   IN  SOA     dns.dinhducthanh.com. root.dinhducthanh.com. (
        2024051101  ;Serial
        3600        ;Refresh
        1800        ;Retry
        604800      ;Expire
        86400       ;Minimum TTL
)
        # Xác định Name Server
        IN  NS      dns.dinhducthanh.com.

# Xác định từng hostname của từng IP address
3      IN  PTR     dns.dinhducthanh.com.
4      IN  PTR     www.dinhducthanh.com.
4      IN  PTR     mail.dinhducthanh.com.
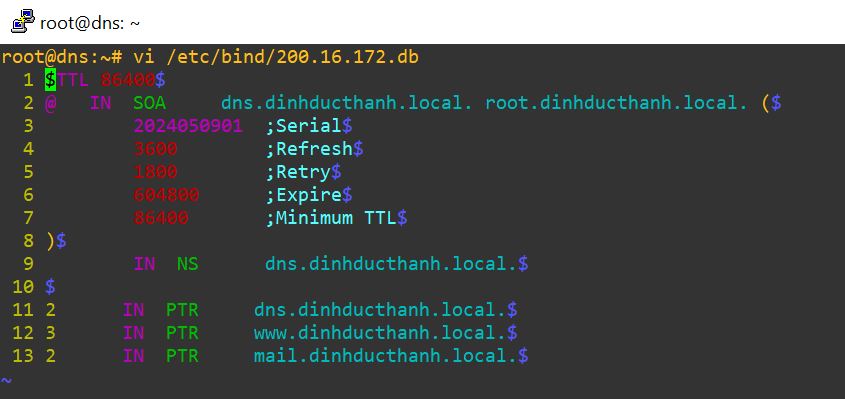
root@dns:~# vi /etc/bind/200.16.172.db
$TTL 86400
@   IN  SOA     dns.dinhducthanh.local. root.dinhducthanh.local. (
        2024050901  ;Serial
        3600        ;Refresh
        1800        ;Retry
        604800      ;Expire
        86400       ;Minimum TTL
)
        # Xác định Name Server
        IN  NS      dns.dinhducthanh.local.

# Xác định từng hostname của từng IP address
2      IN  PTR     dns.dinhducthanh.local.
3      IN  PTR     www.dinhducthanh.local.
2      IN  PTR     mail.dinhducthanh.local.
– Restart BIND to apply changes.
root@dns:~# systemctl restart named
– Kiểm tra port 53
root@dns:~# netstat -ltunp | grep 53
