
Mục tiêu cài vestacp để tạo hosting cho website. Cài đặt trên máy Linux CentOS 7.
Cài đặt ban đầu
– Update hệ điều hành:
yum update -y
– Đặt lại hotname
hostnamectl set-hostname vestacp.dinhducthanh.com
+ Reset máy
init 6
– Download source cài vestacp về máy
curl -O http://vestacp.com/pub/vst-install.sh
– Tắt firewalld
systemctl stop firewalld
systemctl disable firewalld
Install Vestacp
– Cài đặt những trương trình cần thiết như hình. Không cần MAIL, DNS, SOFTACULOUS. Cần cài fail2ban và iptables để nâng cao bảo mật cho server. Cần cài remi repo để có đầy đủ các thư viện cài đặt cần thiết

– Install:
bash vst-install.sh --nginx yes --apache yes --phpfpm no --named no --remi yes --vsftpd yes --proftpd no --iptables yes --fail2ban yes --quota yes --exim no --dovecot no --spamassassin no --clamav no --softaculous no --mysql yes --postgresql no --hostname vestacp.dinhducthanh.com --email thanhdd.noc3@gmail.com --password aA@123123
– Trong quá trình cài đặt
# nhập y để tiếp tục
Would you like to continue [y/n]:y
# Enter để sử dụng port 8083 mặc định
Please enter Vesta port number (press enter for 8083):
# Enter để sử dụng host name của máy
Please enter FQDN hostname [vestacp.dinhducthanh.com]:
– Cài đặt xong lưu lại thông tin đăng nhập. Và đăng nhập trên trình duyệt web bằng thông tin này:
https://IP-cua-server:8083
username: admin
password: aA@123123
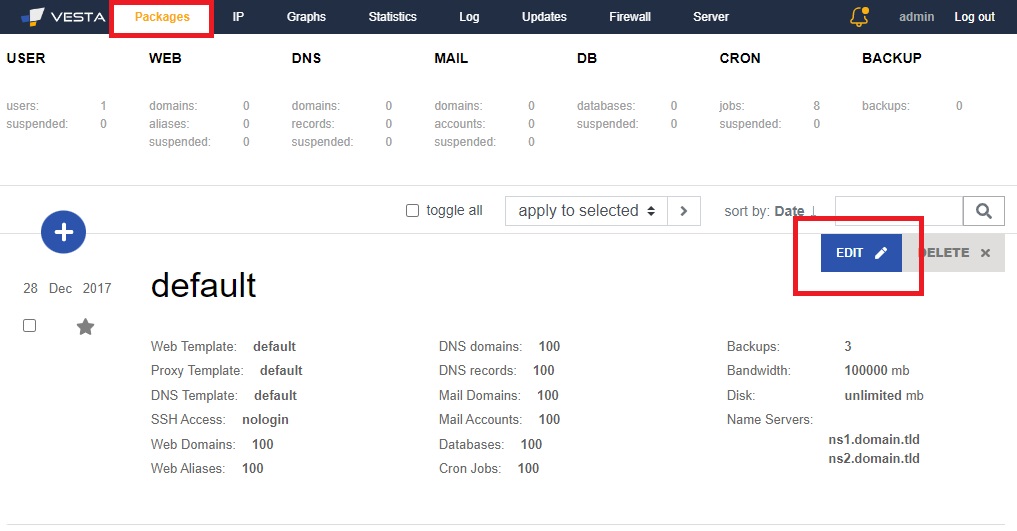
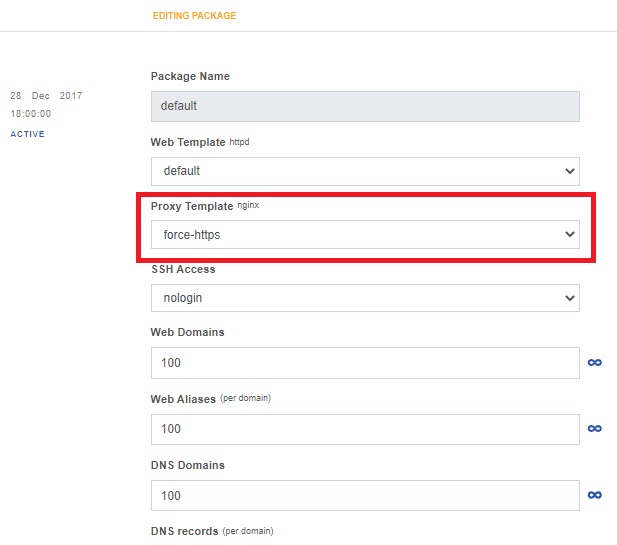
Buộc https/SSL trên tên các tên miền
– Install custom nginx template
cd /usr/local/vesta/data/templates/web
wget http://c.vestacp.com/0.9.8/rhel/force-https/nginx.tar.gz
tar -xzvf nginx.tar.gz
rm -f nginx.tar.gz
cd
– Sau đó chỉnh lại default template ở phần sau để buộc https/SSL trên tên các tên miền
Chỉnh default template
Cấu hình lại fail2ban
– Thêm dòng sau vào các rule fail2ban đang enabled = true
bantime = 600
– Riêng rule [ssh-iptables] thì cần thêm dòng
ignoreip = [IP-hay-ssh-vao-server]

Tạo user và restore dữ liệu từ bản backup vestacp
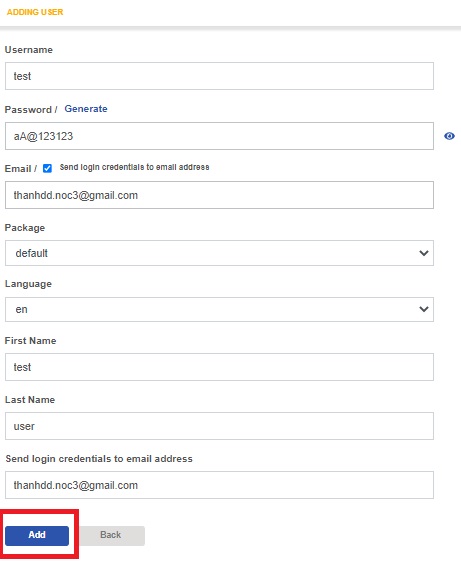
– Tạo user và mật khẩu
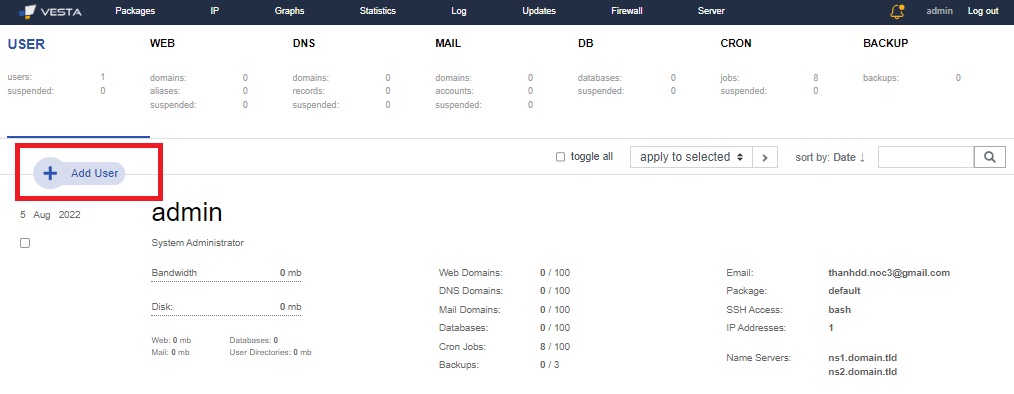
+ Tạo user: test. Mật khẩu: aA@123123
– Copy bản backup lên server. Bản backup đang lưu ở đường dẫn sau của máy đang ssh vào server: E:\backup\test.2022-07-24_05-14-19.tar. Mở CMD và dùng lệnh sau để copy lên server vestacp
scp E:\backup\test.2022-07-24_05-14-19.tar root@[IP-cua-server]:/backup
– Restore lại dữ liệu cho user test
cd /backup
/usr/local/vesta/bin/v-restore-user test test.2022-07-24_05-14-19.tar
Chỉnh lại file visudo để user admin có thể làm các CRON Job mặc định
visudo
# Tại dòng 101 thêm:
admin ALL=(ALL) NOPASSWD: ALL

# Sau đó lưu lại file
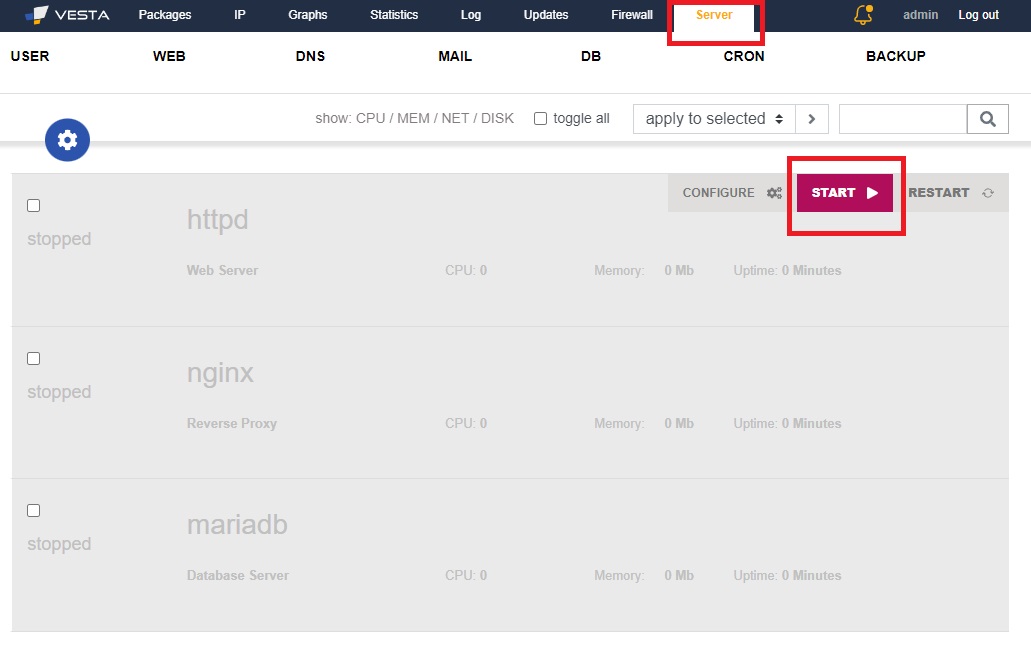
Reset server Vestacp
Sau khi reset lại server vestacp, các dịnh vụ sẽ không tự start lại được. Cái này có thể là do SELINUX. Cần start như sau:
– Kiểm tra ổ cứng
[root@vestacp ~]# df -h
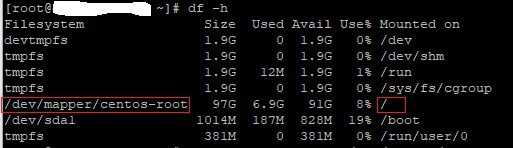
– ReMount phân vùng / và restart lại service
mount -o remount,rw /dev/sda1 / (adjust it to your server root partition)
service vesta start
service NetworkManager restart

– Start lại httpd, nginx, mariadb

Một số configure tối ưu
php.ini: upload_max_filesize=300M
memory_limit = 256M
max_input_time=-1
max_execution_time=300;
upload_max_filesize=25M;
post_max_size=25M;
max_input_vars = 10000
suhosin.get.max_vars = 10000;
suhosin.post.max_vars = 10000;
worker_connections 1024;